


-
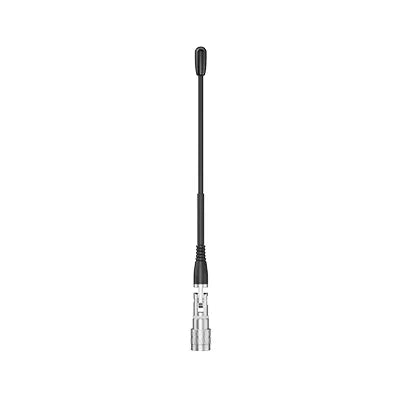
Ultra - 간섭 방지를 위한 550-960MHz 광대역 UHF 전 세계적으로 뛰어난 성능을 제공합니다.(512-608MHz) & (미국의 경우 740-758MHz) - 높은 다이내믹 레인지(130dB 입력) & 120dB 아날로그 출력) 및 비압축 녹음을 위한 디지털 전송
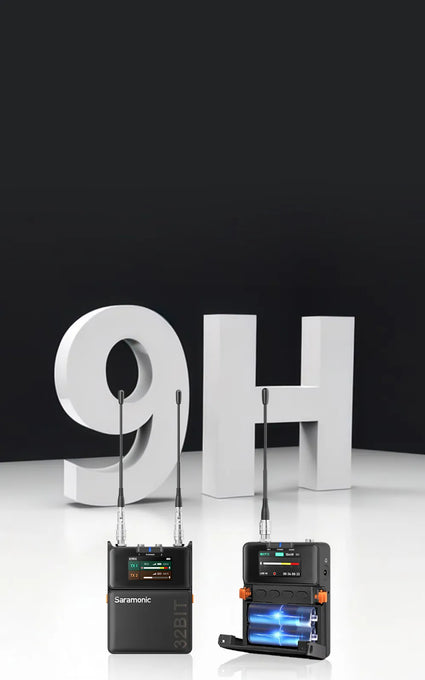
- 32비트 부동 소수점 온보드 녹화* 및 안전한 백업을 위한 32GB 저장 공간
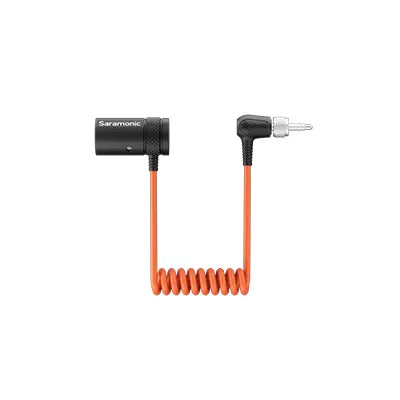
- 타임코드 동기화 - Saramonic 시스템을 통한 무선 또는 타사 TC 박스를 통한 유선 방식
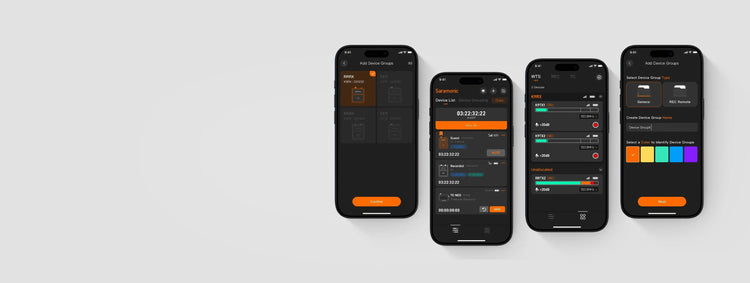
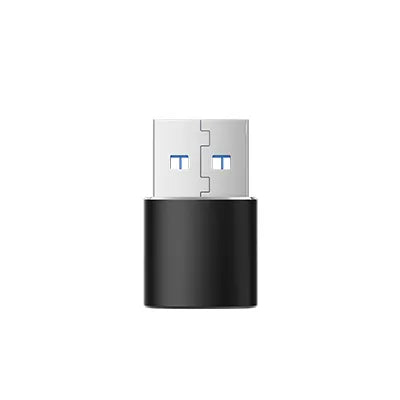
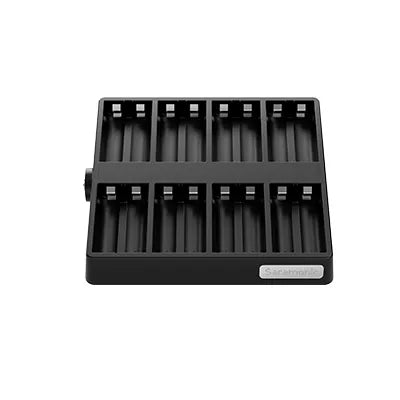
- 사라모닉 시스템 - 최대 48개 기기의 제어 및 정보 관리를 스마트폰에서 편리하게 이용하세요.
*
번거로움 없는 반품 및 교환으로 간편한 쇼핑을 즐겨보세요. 일부 품목에는 특별 반품 및 교체 정책이 적용될 수 있습니다. 자세한 내용은 반품 정책을 참조하세요.
이 제품에는 사라모닉의 2년 글로벌 보증이 제공됩니다. 보증 기간 동안 제품 품질로 인한 결함은 수리가 아닌 제품 교환으로 처리됩니다.


#엘라 특집

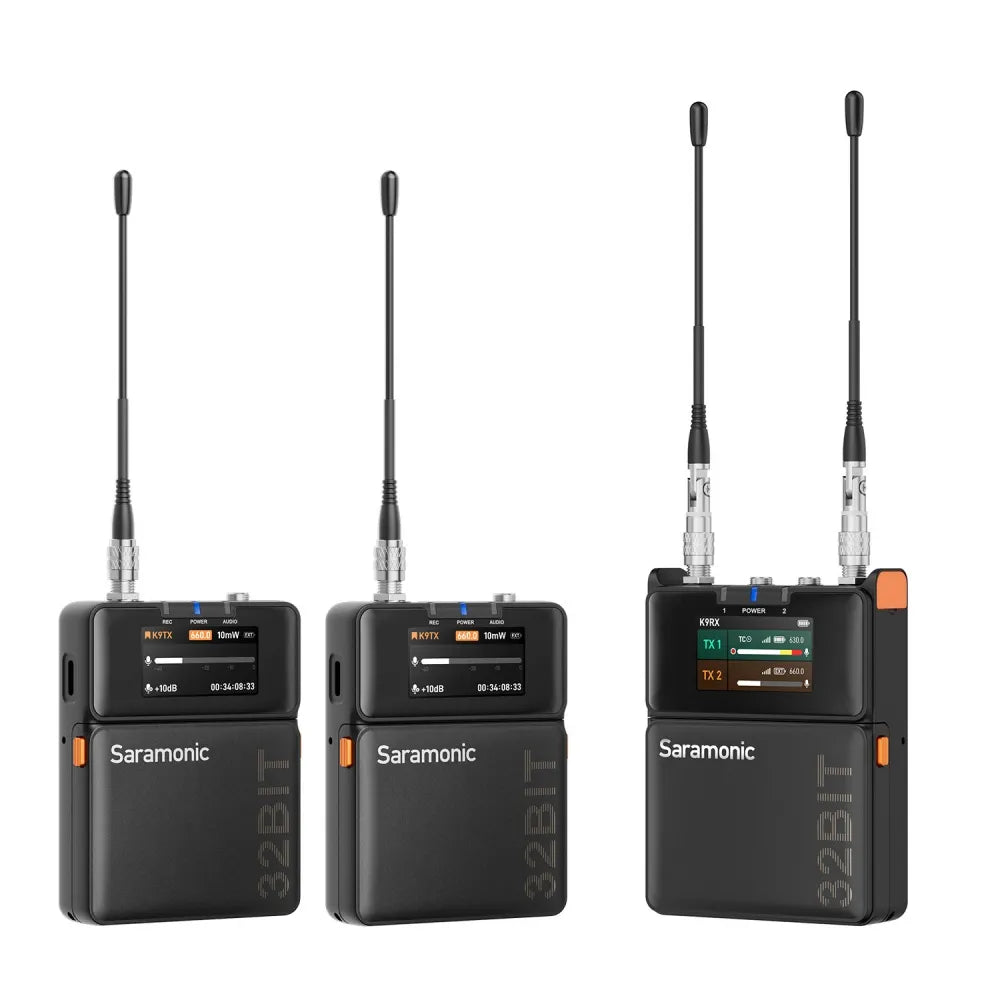
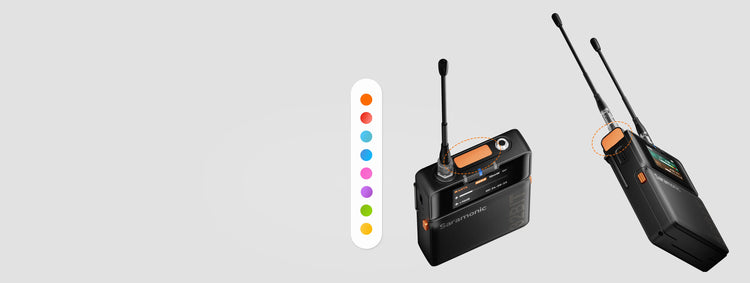
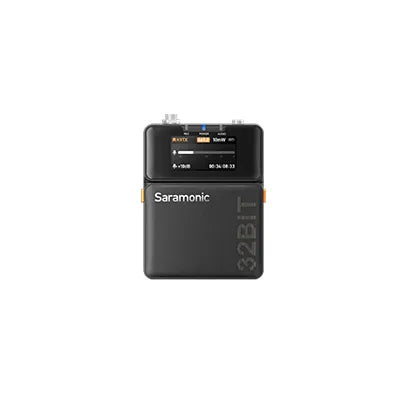
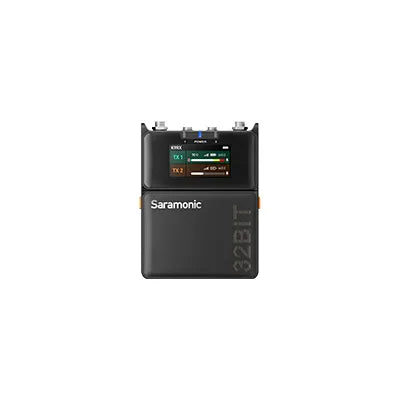
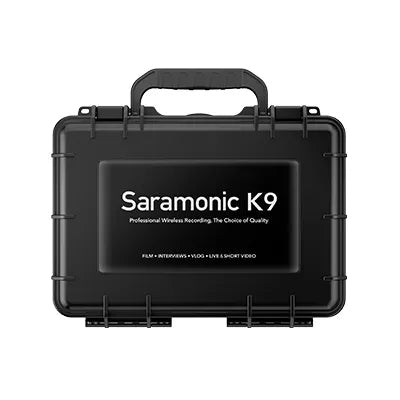
사라모닉 K9
영화 제작자를 위한 듀얼 채널 디지털 UHF 무선 오디오 시스템


듀얼 디스플레이
가방 발굴 없이 정보 스캔

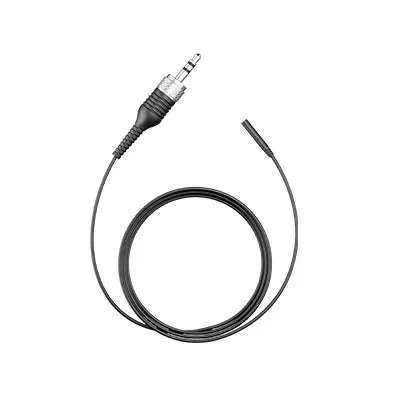
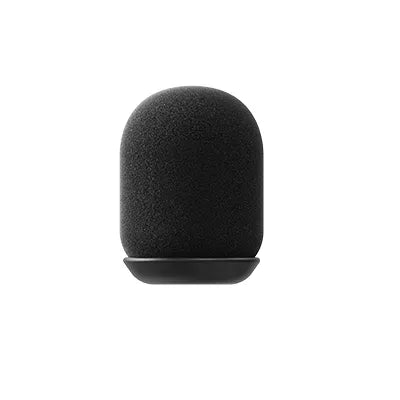
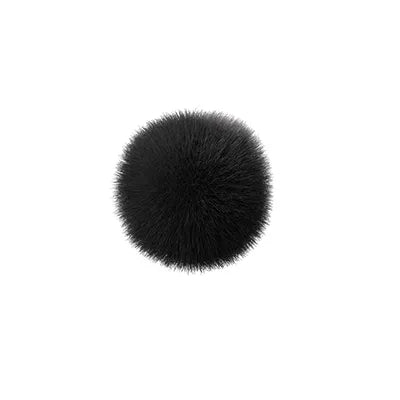
미니 라발리에 마이크
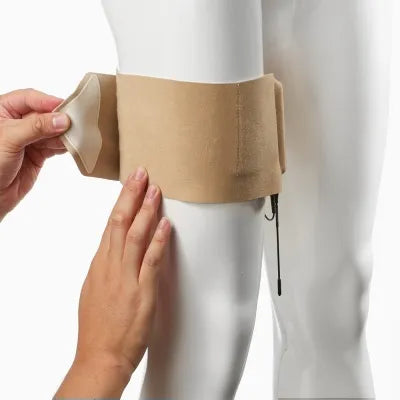
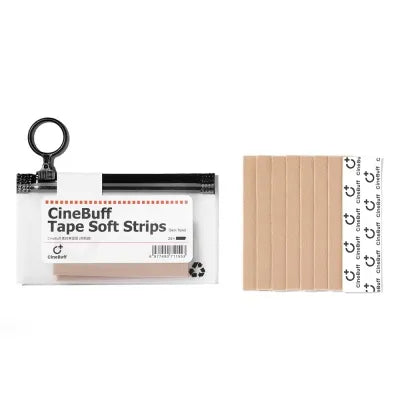
먼지, 물 및 당김 저항


- 선택을 선택하면 전체 페이지 새로 고침이 나옵니다.