


-
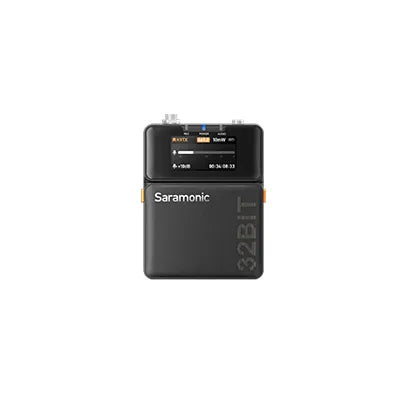
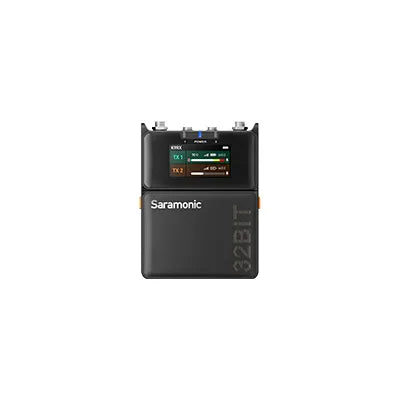
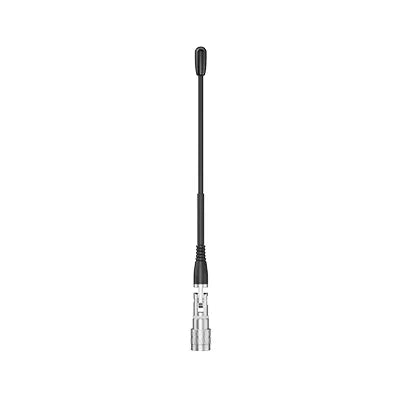
Ultra 干渉防止のための550~960MHzのUHF 世界中でパフォーマンスを発揮します。(512-608 MHz & 740~758 MHz(米国向け) - 高ダイナミックレンジ(130 dB入力 & 120 dBアナログ出力)と非圧縮録音用のデジタル伝送
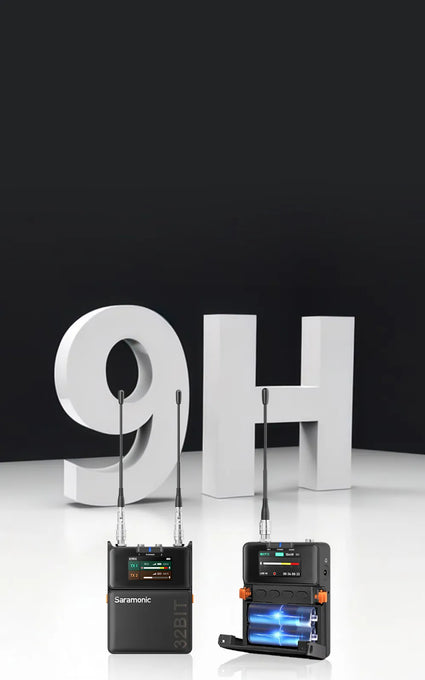
- 32 ビット フロート オンボード レコーディング*、安全なバックアップのための 32 GB ストレージ
- タイムコード同期 - Saramonic System 経由のワイヤレス、またはサードパーティの TC ボックス経由の有線
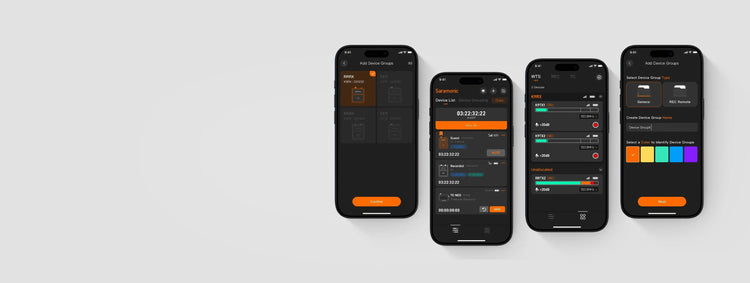
- Saramonic システム - スマートフォンで最大 48 台のデバイスの制御と情報ハブを実現
*
返品・交換もスムーズに行えますので、安心してお買い物をお楽しみください。一部の商品には、特別な返品および交換ポリシーが適用される場合があります。詳細については返品ポリシーをご覧ください。
この製品には、Saramonic による 2 年間のグローバル保証が付いています。保証期間内に製品の品質に起因する欠陥が生じた場合は、修理ではなく製品の交換で対応させていただきます。


#エラ特集

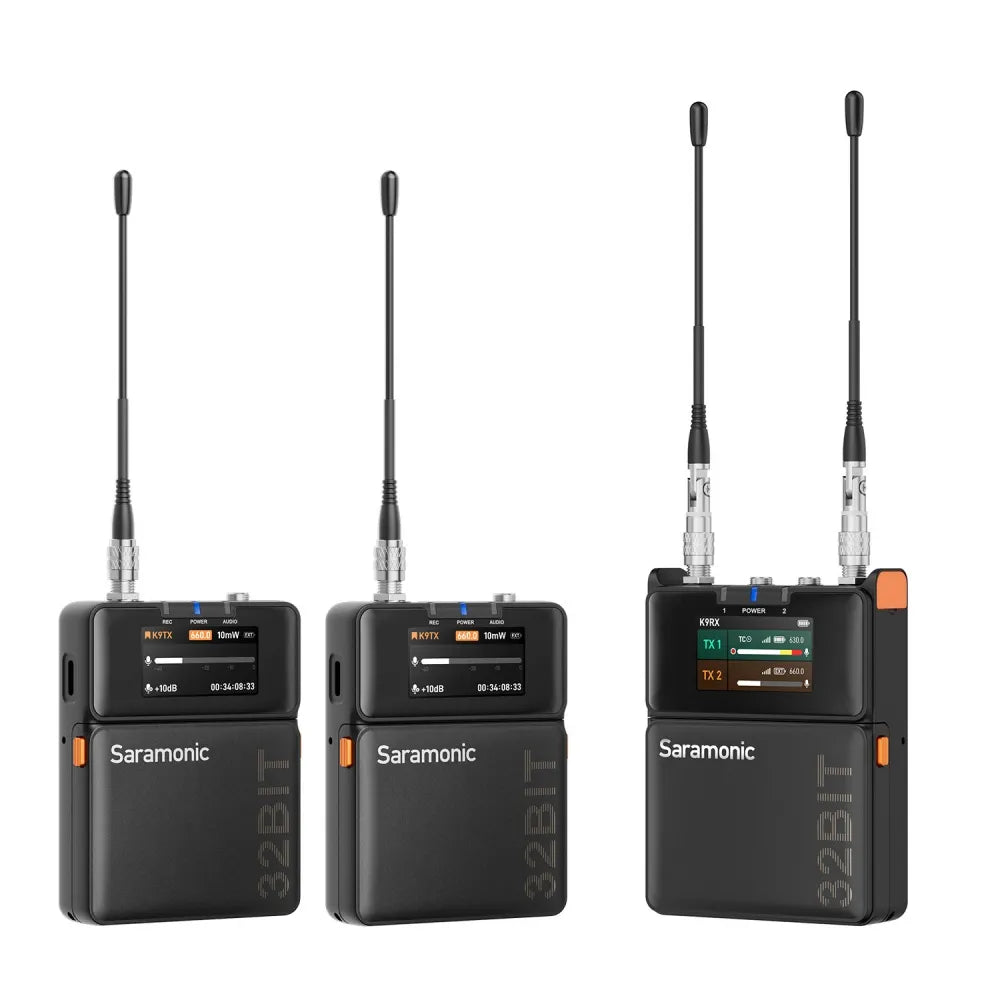
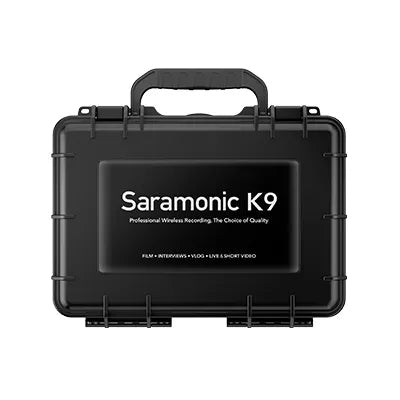
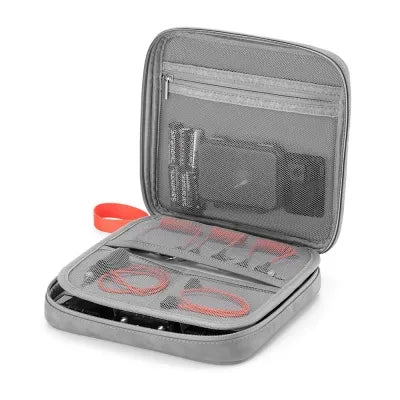
サラモニック K9
映画制作者向けのデュアルチャンネル デジタル UHF ワイヤレス オーディオ システム


デュアルディスプレイ
バッグディグを行わない情報スキャン

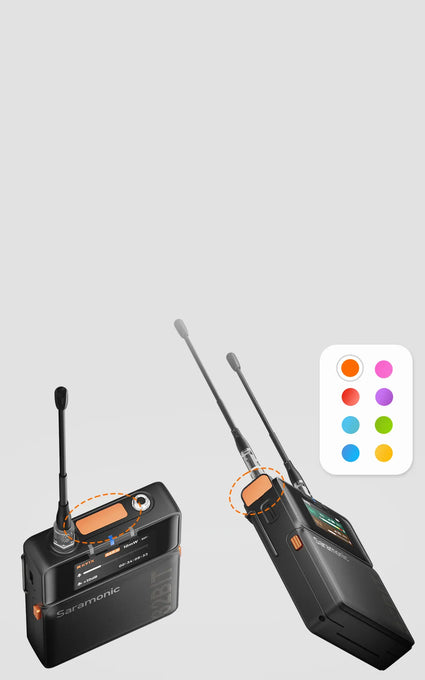
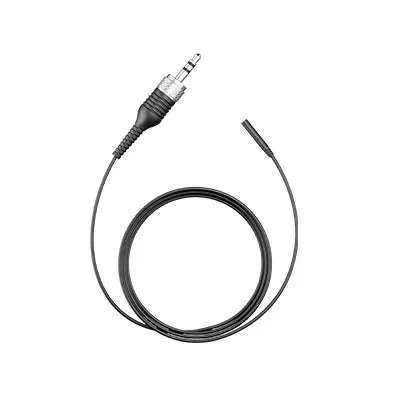
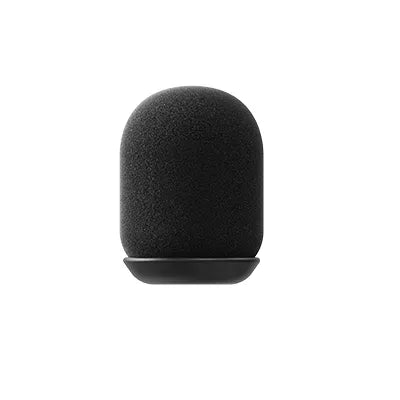
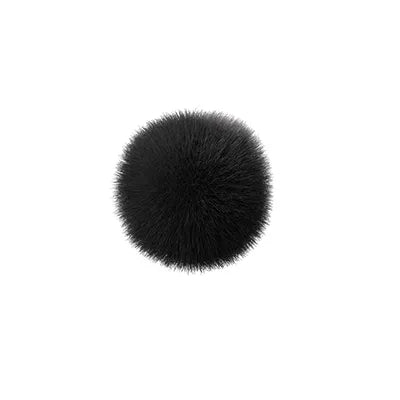
ミニラベリアマイク
防塵、防水、引っ張り耐性


- 選択を選択すると、完全なページの更新が行われます。